How to Draw Roses Step by Step? Easy Tutorial
If you want to learn how to draw roses step by step, you are in the right place. Roses may look hard to draw, but you can break them into simple shapes. When you follow clear steps, the process becomes easy and fun.
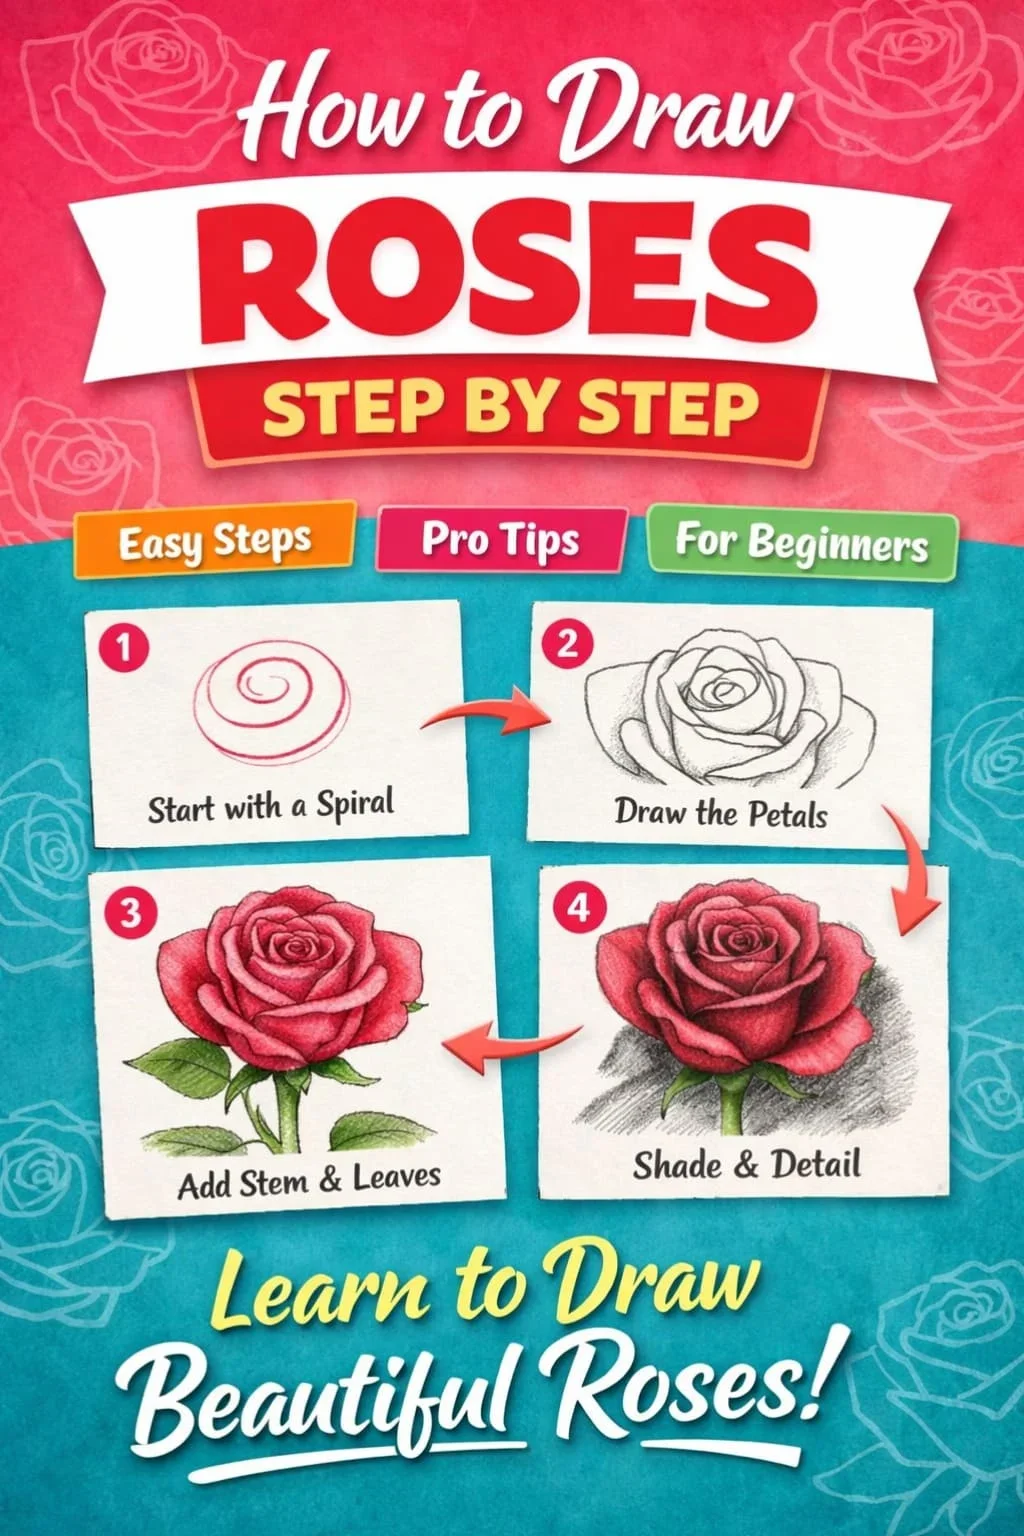
Many beginners feel confused about where to start. Some struggle with petals. Others find shading difficult.
In this article, you will learn a simple method to draw a rose from the center outward. By the end, you will know how to sketch a clean rose and add depth to make it look more real.
Note: Some links in this article are affiliate links.
What You Need Before You Start
Before you start, prepare your basic tools. You do not need expensive materials.
Use an HB pencil for sketching light guidelines. Then use a 2B pencil for darker lines and shading. Keep a soft eraser nearby to remove mistakes without damaging the paper.
Make sure you choose smooth drawing paper so your lines stay clean.
If you want smoother shading, use a blending stump. Colored pencils also work well if you plan to add color later.
Related blog post: How to Draw Lips Step by Step?
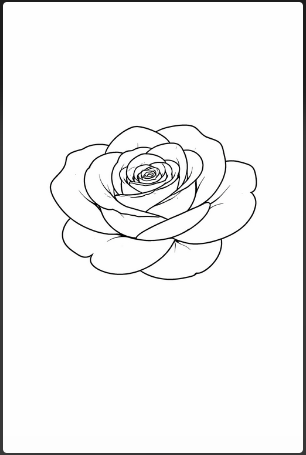
Understanding the Basic Structure of a Rose
Before you start drawing, understand how a rose grows. The center forms a tight spiral. Then the petals expand outward in layers. Each outer layer becomes larger and more open.
Instead of drawing random petals, think in shapes. Start with a small oval or circle in the center. Then build curved lines around it. This approach makes your rose sketch for beginners more accurate.
Also, notice that roses are not perfectly symmetrical. Petals overlap naturally. Therefore, avoid making every petal identical. Small variations make your easy rose drawing look realistic.
Related posts:


How to Draw a Rose Step by Step
Follow these steps carefully. Keep your pencil strokes light at first.
Step 1: Draw the Center Spiral
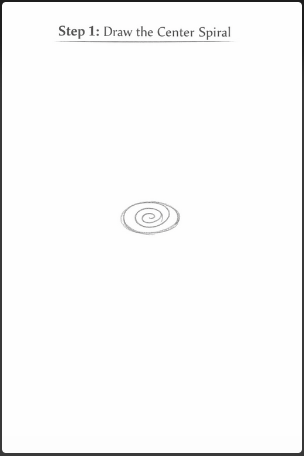
You can start with a small oval shape. Inside it, draw a loose spiral. Do not press hard. This spiral represents the tightly wrapped inner petals.
Keep the lines soft because you will refine them later.
Step 2: Add the Inner Petals
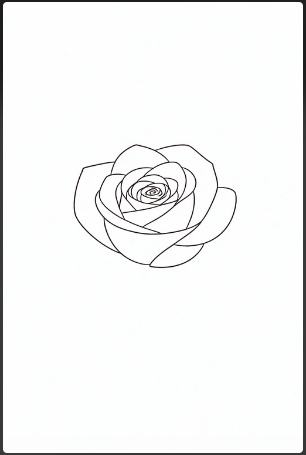
Next, draw curved C-shaped lines around the spiral. These lines should wrap around the center. Keep them uneven to create a natural look.
At this stage, focus on flow rather than perfection.
Related blog post: 15 Easy Flower Drawings for Beginners.
Step 3: Build the Outer Petals
Now, expand outward. Draw larger petals around the inner ones. Each petal should overlap slightly with the next.
Make the edges gently wavy instead of straight. Roses rarely have sharp or rigid edges. As a result, your rose drawing tutorial will look more organic.
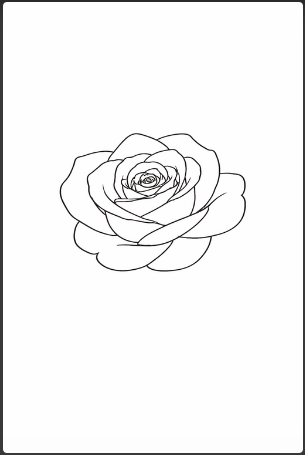
Step 4: Refine the Shape
Once the full flower shape appears, erase unnecessary guidelines. Then adjust the outer contour. Make sure the petals feel balanced.
Check proportions before moving forward. If one side looks too heavy, correct it now.
Step 5: Add the Stem and Leaves
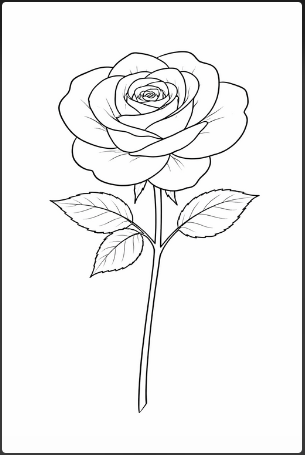
Draw a slightly curved line extending downward for the stem. Keep it thin and natural.
After that, add simple leaf shapes on each side. Leaves usually have pointed ends and visible veins. Draw a central vein first, then add smaller lines branching outward.
Step 6: Add Shading and Depth
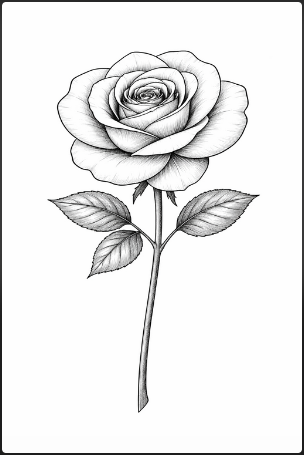
Now you will create depth. First, decide where your light source comes from. If the light hits from the top left, shade the bottom right areas.
Darken the inner folds of the petals. These areas receive less light. Use gradual strokes to build soft shadows. Then lightly blend to smooth transitions.
Shading transforms a flat sketch into a realistic rose drawing.
Related blog post: 11 Easy Painting Ideas on Canvas.
Common Mistakes When Drawing Roses
Many beginners make similar mistakes when learning how to draw roses step by step. The good news is you can fix these issues once you know what to watch for.
First, drawing petals too flat is a common problem. Real rose petals curve inward and outward. They fold, overlap, and twist slightly. If you draw straight or stiff lines, your rose will look lifeless. Instead, use soft curved strokes and allow petals to bend naturally.
Second, avoid making every petal the same size. In a real rose, inner petals are small and tight. Outer petals are larger and more open. When all petals look identical, the flower feels artificial. Vary the width, height, and angle of each petal to create depth.
Third, pressing too hard at the beginning limits your flexibility. Heavy lines are difficult to erase. Start with light sketch lines. Then darken only after you are happy with the structure.
Another mistake is ignoring the light source. If you shade randomly, your rose will look flat. Decide where the light comes from before you begin shading. Darken the inner folds and the areas under overlapping petals. Leave highlights where light hits directly.
Finally, many beginners rush into details too early. Focus on the overall shape first. Once the structure looks correct, add folds and shading.
How to Draw a Realistic Rose
If you want your rose to look realistic, pay close attention to structure and contrast. Start by observing real reference photos. Notice how petals curl at the edges. Some fold inward while others bend outward.
Next, build a stronger contrast between light and shadow. Realistic drawings rely on value changes. Darken the center of the rose because light struggles to reach that area.
Add deeper shadows where petals overlap. At the same time, keep soft highlights on the outer edges.
Blend your shading gradually. Avoid harsh lines between light and dark areas. Smooth transitions create a natural look. When you combine accurate structure with controlled shading, your realistic rose drawing will stand out.
How to Draw a Simple Cartoon Rose
A cartoon rose follows the same basic structure but uses fewer details. Begin with a clear spiral in the center. Then add simple rounded shapes around it to suggest petals.
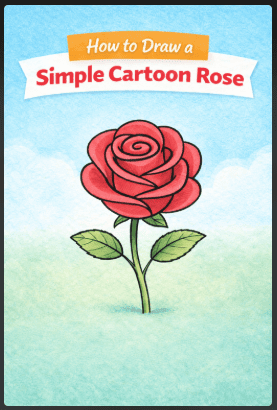
Use clean, bold outlines instead of soft sketch lines. Keep the design balanced and easy to read. Do not add heavy shading. Instead, you can include minimal shadow lines or leave the rose flat for a clean illustration style.
This method works well for greeting cards, logos, and children’s drawings. It also helps beginners practice shape control without worrying about complex shading.
Frequently Asked Questions
Is drawing a rose hard for beginners?
No. When you break the flower into simple shapes and follow clear steps, the process becomes manageable.
How long does it take to learn how to draw roses step by step?
If you practice a few times each week, you can see noticeable improvement within two to three weeks.
What is the easiest way to draw a rose?
Start with a small spiral in the center. Then build outward using curved lines. Keep the structure simple before adding details.
How do you make a rose look realistic?
Focus on contrast and shading. Darken areas where petals overlap. Keep highlights where light hits directly. Maintain variation in petal size and shape.
Conclusion
As you can see, now you have a complete guide on how to draw roses step by step. Focus on simple shapes first. Then build layers carefully and add shading with purpose.
You need to practice often and review your mistakes. Over time, your lines will look cleaner, and your roses will show more depth. So make sure you keep drawing and track your progress with each sketch.
Thank you for reading this article. I hope it was useful.
More blog posts: