
How to Draw Lips Step By Step Easy Tutorial
Want to learn how to draw lips step by step without feeling confused or overwhelmed? You are in the right place. Many beginners struggle with lips because they skip the basic structure and jump straight into shading.
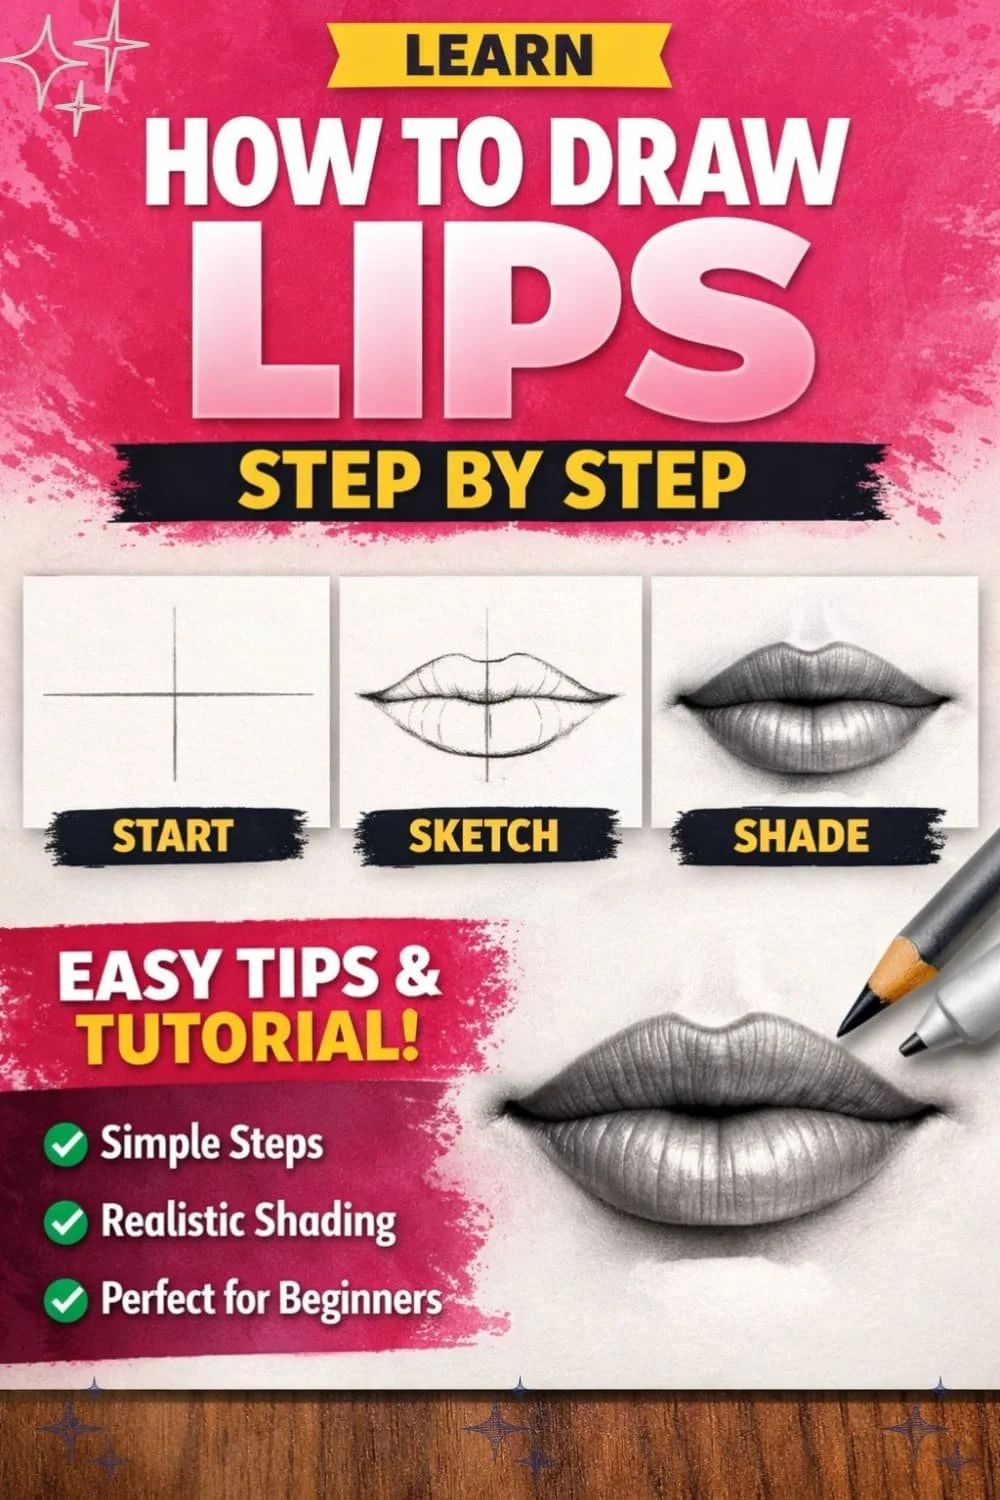
In this easy article, you will learn how to draw lips step by step using simple shapes and clear guidelines. You will start with basic lines, build the correct proportions, and then add shading to make your lips look more realistic.
This guide is great for beginners who want a simple and practical lip drawing tutorial. So grab your pencil and follow each step carefully. By the end of this article, you will understand how to draw lips step by step with better balance, cleaner lines, and smoother shading.
Materials You Need to Draw Lips
You do not need expensive tools to learn how to draw lips step by step. You can start with simple materials like:
Pencil HB and 2B:
Use an HB pencil to sketch light guidelines and basic shapes. Use a 2B pencil to add darker lines and shading. This gives you control over both structure and depth.
Eraser:
A clean eraser helps you remove guidelines and fix proportions. You can also use it to create highlights on the lower lip by gently lifting graphite.
Blending Stump or Tissue:
Use a blending stump or a small piece of tissue to soften shading. This helps you create smooth transitions between light and shadow.
Drawing Paper:
Make sure to choose smooth drawing paper. Rough paper makes shading harder to control, especially when you practice fine lip details.
Reference Photo:
Always use a reference photo. Looking at real lips helps you understand shape, light, and texture. This improves your accuracy and speeds up your progress.
Related Blog post: How to Draw Tears Step by Step?
Understanding the Basic Structure of Lips
Before you start shading, you need to understand the structure. The upper lip usually looks thinner and darker. It has a small dip in the center called the cupid’s bow. This shape gives the lips character and definition.
The lower lip is often fuller and catches more light. This is where you will place highlights to create depth.
The corners of the mouth connect the upper and lower lips. Do not draw them as sharp lines. Keep them soft and slightly curved for a natural look.
So pay attention to symmetry and proportions. Draw a light vertical guideline in the center to keep both sides balanced. The left and right sides should look even, but not perfectly identical. Natural lips always have small differences.
If you want to learn how to draw realistic lips, focus first on structure before adding detail. When your proportions are correct, shading becomes much easier. Your drawing will look more natural.
How to Draw Lips Step By Step
If you want to easily draw lips, you need to follow these steps carefully. Focus on clean lines first, then add detail and shading.
Step 1: Draw a Simple Guideline
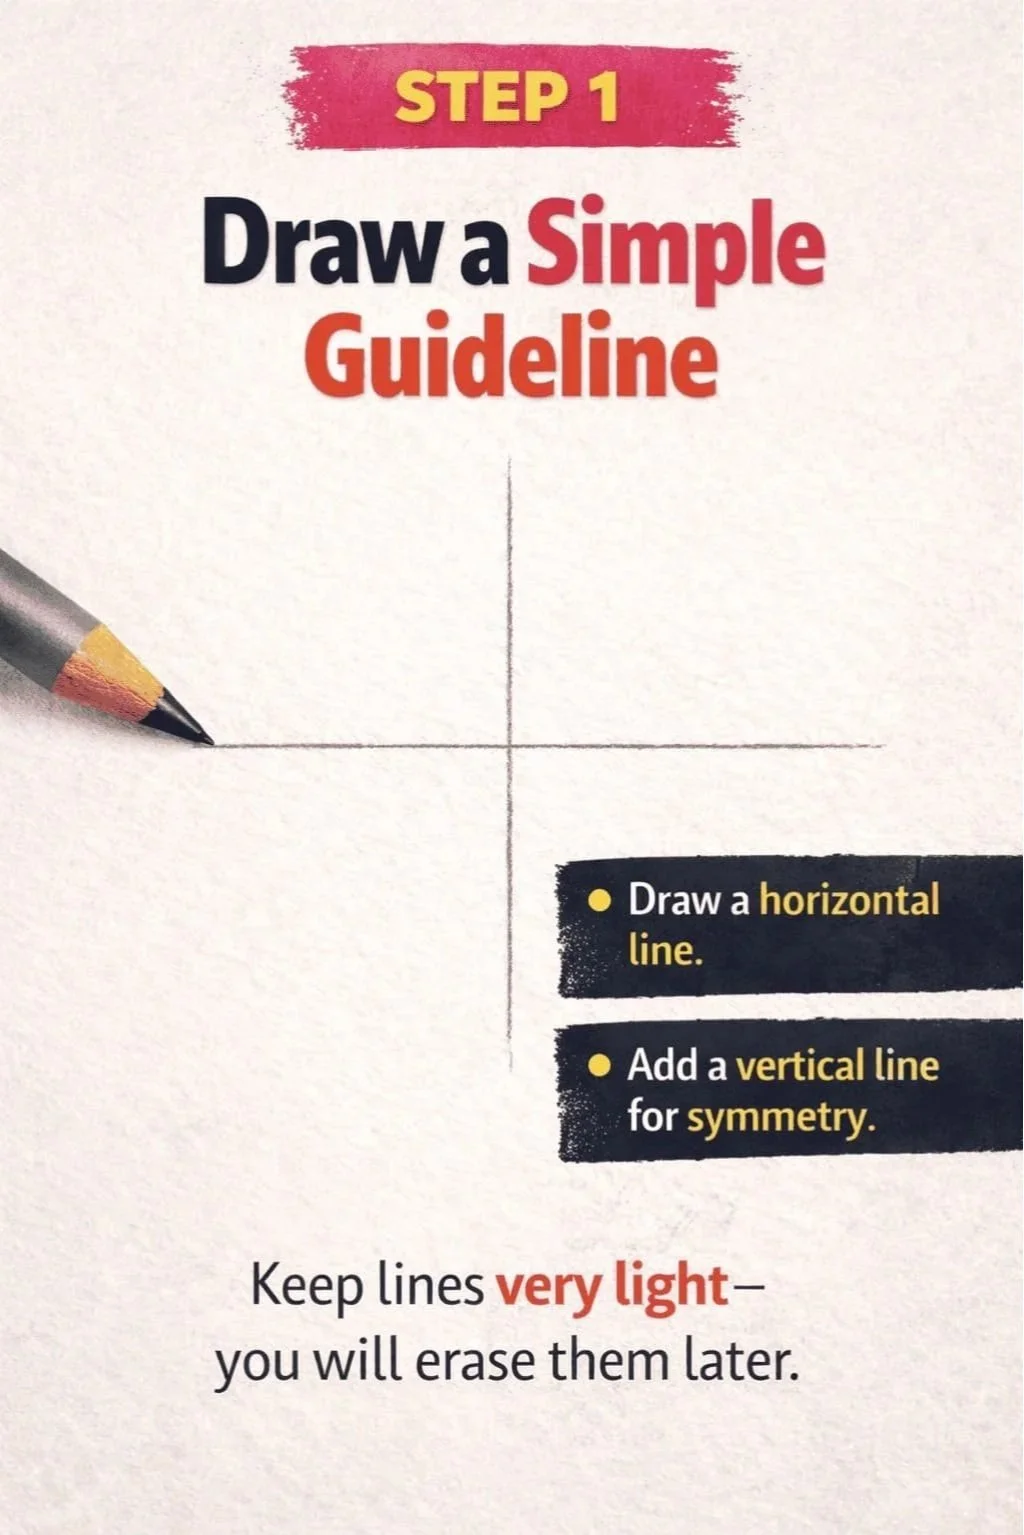
You can start by drawing a light horizontal line. This line marks the center where the upper and lower lips meet.
Next, draw a vertical line through the middle of the horizontal line. This creates symmetry and helps you keep both sides balanced. Do not press hard. These are only guidelines, and you will erase them later.
Step 2: Sketch the Basic Shape
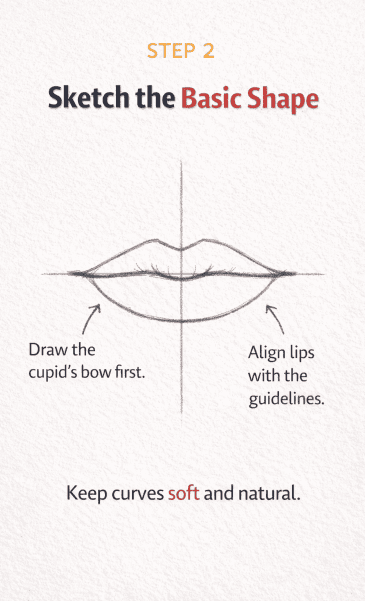
Now draw the cupid’s bow at the center of the top lip. Create a soft “M” shape along the horizontal line. Keep the curves smooth and natural.
From the cupid’s bow, extend the upper lip outward on both sides. The upper lip is usually thinner than the lower lip, so avoid making it too full.
Then sketch the lower lip. After that, draw a wider and rounder curve under the horizontal line. The lower lip should look slightly fuller and softer. Keep both sides aligned with your vertical guideline.
Step 3: Define the Lip Line and Corners
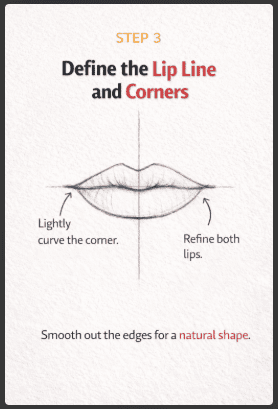
Make sure you refine the outline of both lips. Clean up uneven lines and adjust proportions if needed.
Lightly shape the corners of the mouth. Do not draw sharp angles. Make sure to slightly curve the corners inward to make the lips look natural and relaxed. Small adjustments here make a big difference in realism.
Step 4: Add Details and Texture
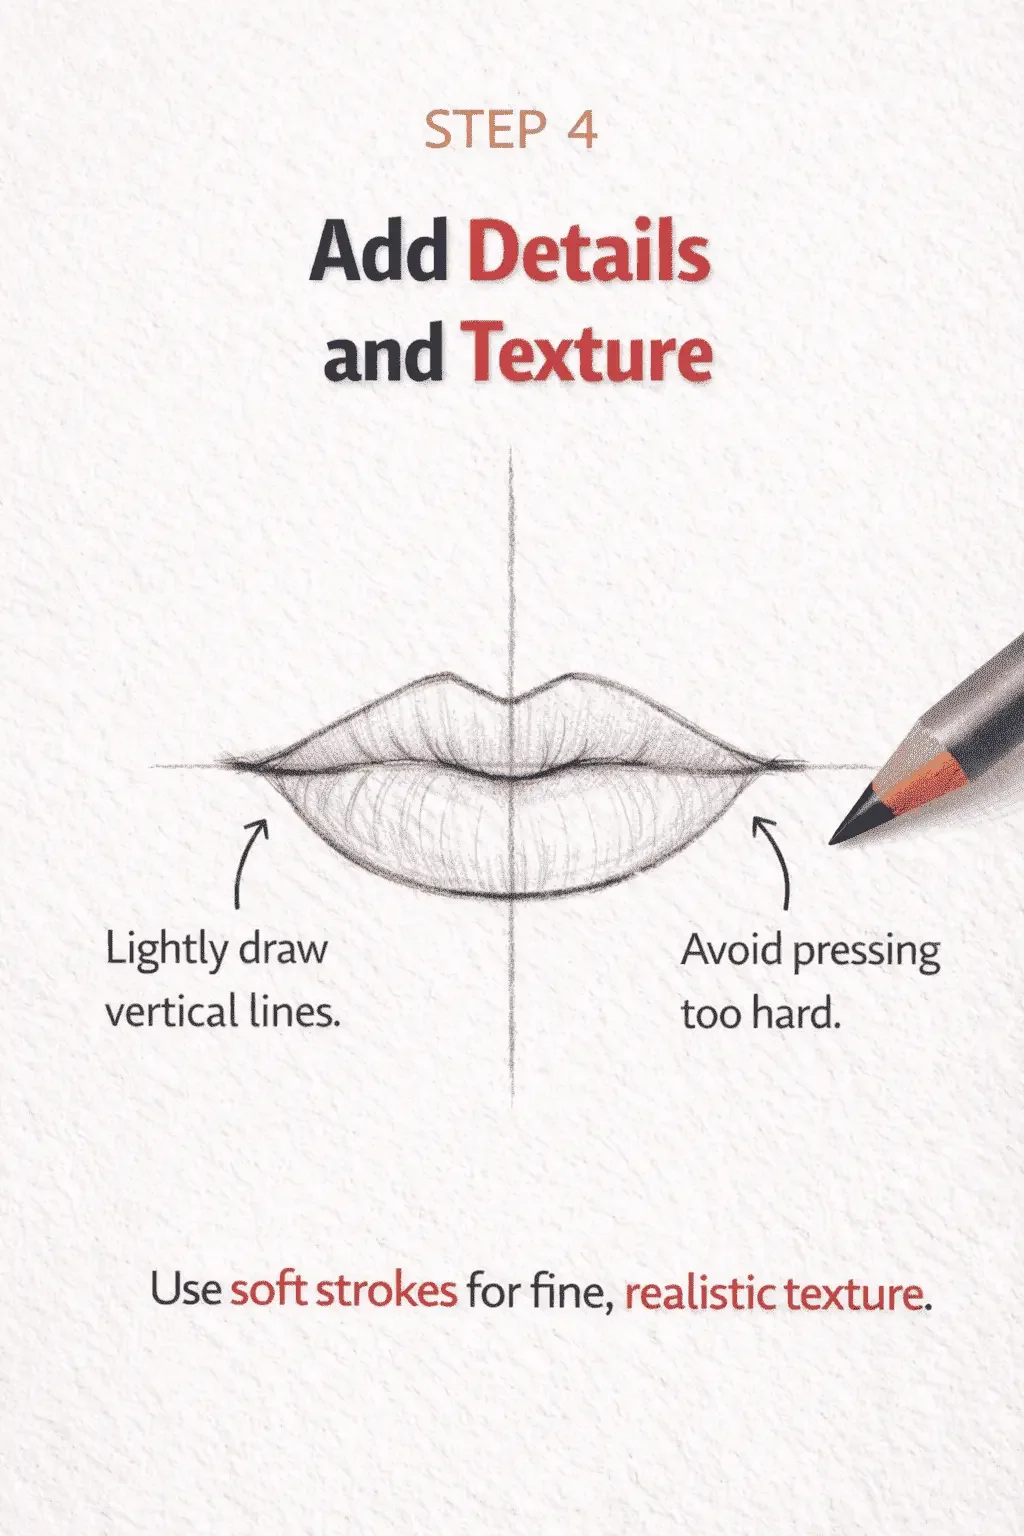
In the next step, add subtle vertical lines to both lips. These lines represent the natural texture of lips.
Keep your strokes light and short. Avoid pressing too hard. Heavy lines make the lips look rough and unnatural. So focus on soft and fine texture instead of bold marks.
Step 5: Shade the Lips for a Realistic Look
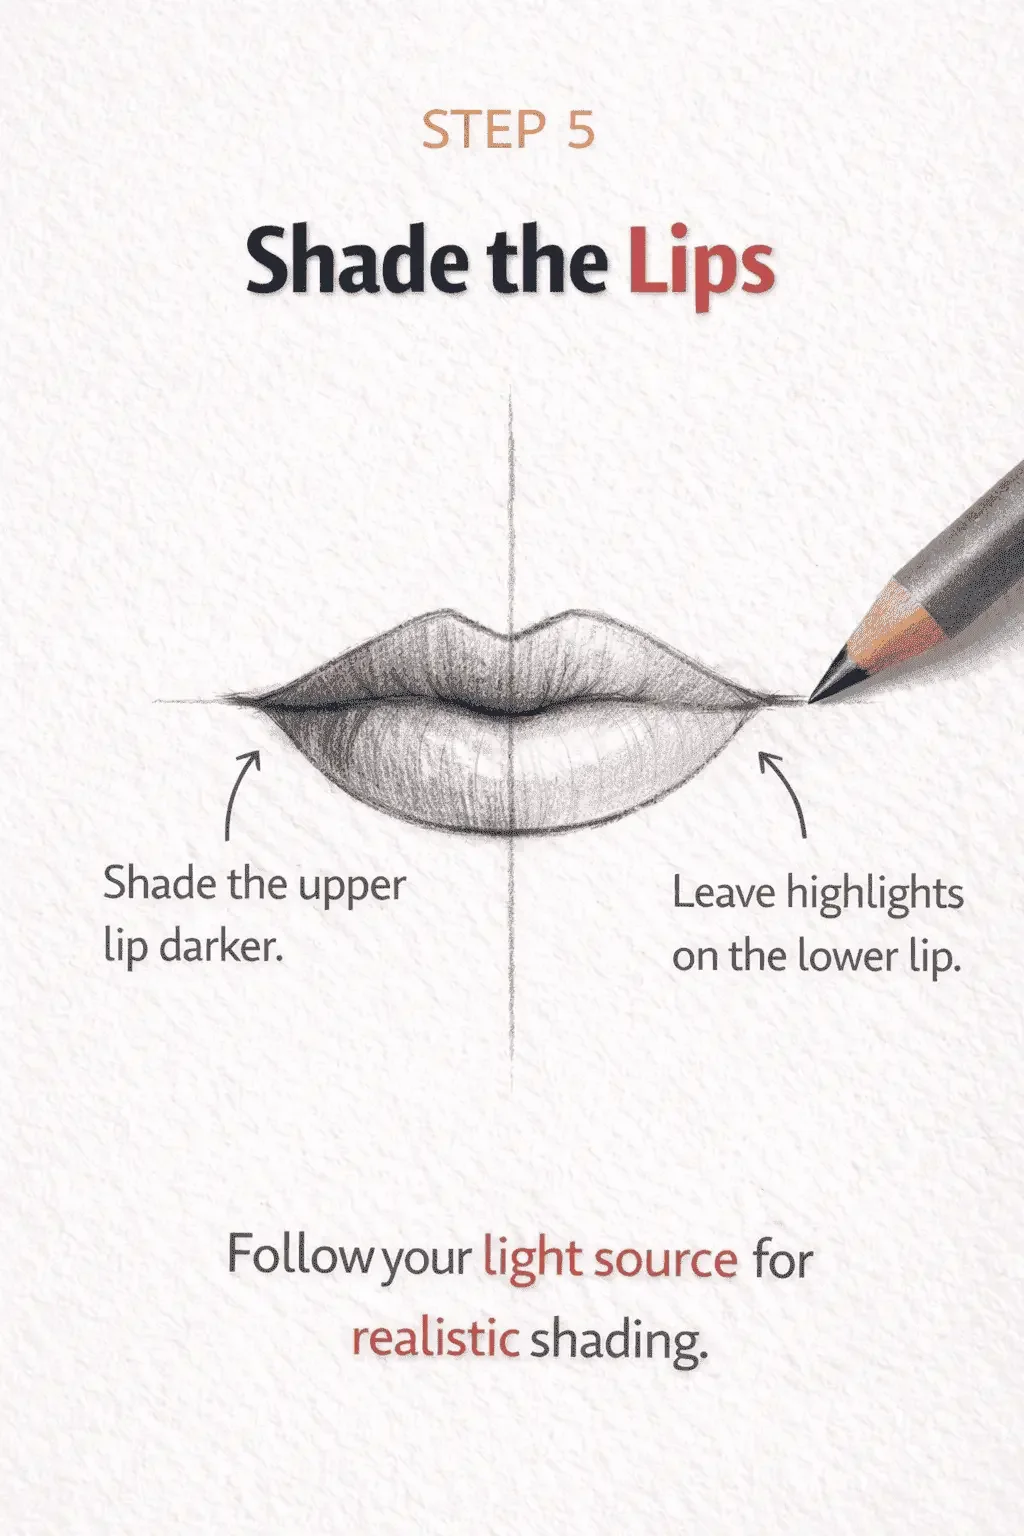
Start shading the upper lip first. In most lighting situations, the upper lip appears darker because it angles downward. Use your 2B pencil to build gradual shadows.
Leave small highlight areas on the lower lip. The lower lip usually catches more light, so keep the center slightly brighter.
Blend the shading softly using a blending stump or tissue. Then create smooth transitions between light and shadow.
If you want to improve how to shade your lip-shading technique, focus on contrast. Darken the crease between the lips and keep highlights clean. This contrast gives your drawing depth and makes the lips look more realistic.
Related blog post: 11 Easy Painting Ideas on Canvas.
Common Mistakes When Drawing Lips
When learning how to draw lips step by step, small mistakes can affect the final result. Focus on avoiding these common errors to improve your drawings faster. Here are the mistakes to avoid:
• Making lips too symmetrical: Real lips are balanced but not identical. If both sides look the same, the drawing appears stiff. Use a center guideline for alignment, then allow slight differences in curves and thickness.
• Ignoring the light source: Shading without a clear light direction removes depth. Decide where your light source is before you begin shading. Keep shadows consistent. The upper lip is often darker, while the lower lip usually has stronger highlights.
• Over-shading: Pressing too hard or adding dark tones too quickly makes the lips look heavy. Build shading gradually using light layers. Increase contrast slowly to create smooth transitions.
• Drawing harsh outlines: Thick, dark outlines make lips look unrealistic. Instead of outlining heavily, define the shape with soft shading. Blend the edges gently so the lips look natural against the surrounding skin.
Conclusion
Learning how to draw lips step by step takes practice, not talent. The more you repeat the basic structure, the more natural your drawings will look. You need to focus on clean guidelines, correct proportions, and controlled shading.
Practice regularly, even if you only sketch for ten minutes a day. Draw different lip shapes, expressions, and angles. With repetition, your lines will become more confident, your shading smoother, and your results more realistic.
If you want more drawing tutorials, feel free to have a look at our blog page.


FAQs About Drawing Lips
Here are some frequently asked questions about lip drawing:
How do you draw lips step by step for beginners?
Start with a light horizontal line and a vertical center guideline. Sketch the cupid’s bow and outline the upper and lower lips using simple curves. Refine the shape, then add soft shading. Keep your strokes light and build details gradually.
How do you draw realistic lips easily?
Focus on structure before shading. Make sure your proportions are correct and avoid harsh outlines. Shade the upper lip darker, leave highlights on the lower lip, and blend smoothly. Realistic lips depend on contrast and smooth transitions.
What pencil is best for drawing lips?
Use an HB pencil for sketching guidelines and basic shapes. Use a 2B pencil for shading and adding depth. This combination gives you control over both light lines and darker shadows.
Why do my lip drawings look flat?
Lip drawings look flat when there is little contrast or no clear light source. Add darker shadows to the upper lip and along the center crease. Leave highlights on the lower lip. Strong contrast and smooth blending create depth and dimension.