
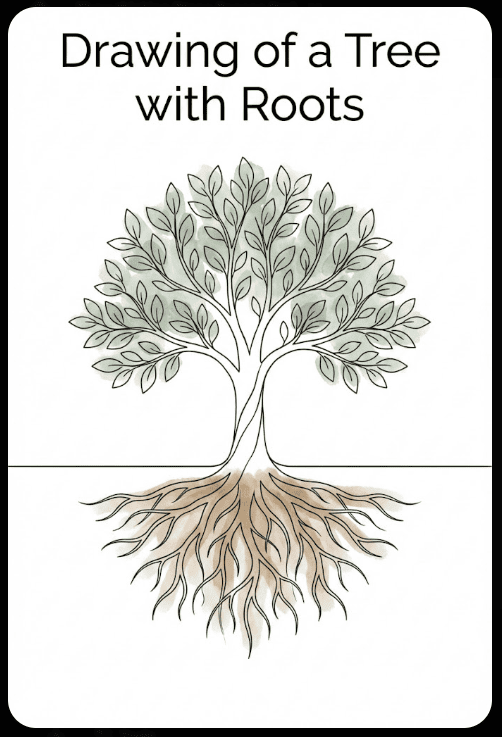
Easy Drawing of a Tree with Roots for Beginners
Drawing of a tree with roots might look hard at first, but it’s actually very simple when you break it down into small steps.
Many beginners struggle because they try to draw everything at once. However, when you follow simple steps, the process becomes clear and enjoyable.
A tree with roots is not just a drawing. It tells a story of strength, growth, and balance. That’s why learning this easy method will help you create a beautiful tree, even if you have never drawn one before.
In this article, you’ll learn an easy way to draw a tree with visible roots, even if you’re a complete beginner. So let’s get started.
Examples for Drawing of a Tree with Roots
Before showing you how to draw a tree with roots, I need to show you some examples first, so you will know which style you want. Here are some examples below:
1. Minimalist Line Art
Minimalist line art focuses on simplicity and clean lines. In this style, the tree is drawn using just a few smooth lines to represent the trunk, branches, and roots. The canopy may be suggested with a simple curved or cloud-like shape rather than drawing each leaf.
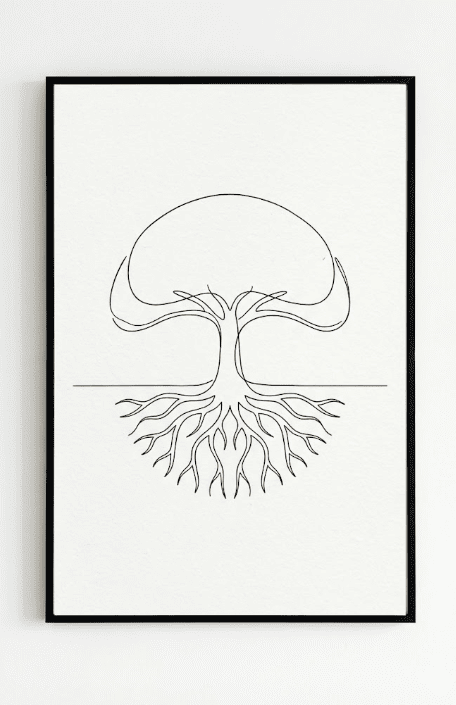
This style is elegant and modern. This makes it perfect for logos, icons, or wall art. It’s also ideal for beginners because it doesn’t require detailed shading or complex patterns.
Related blog post: 9 Easy Family Tree Drawing Ideas You Will Love.
2. Watercolor Sketch
Watercolor sketch style gives your tree an artistic design. In this style, the trunk, branches, leaves, and roots are drawn with light lines. Then colored with gentle washes of watercolor. The colors can blend naturally, which gives the tree a flowing appearance.
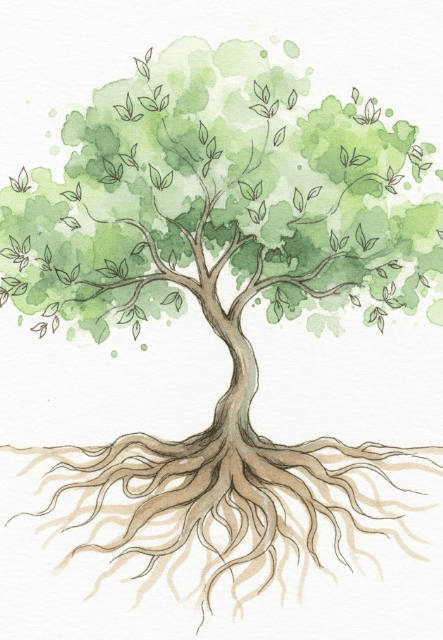
You don’t need to draw every leaf or root in detail. Instead, use soft brush strokes and let the colors suggest the shapes. This style looks beautiful and organic.
3. Mandala-Style Tree
Mandala-style trees combine symmetry and detailed patterns to create a mesmerizing design. You can start by drawing the trunk and roots. After that, add branches that split evenly. Next, fill the branches and roots with intricate patterns like swirls, dots, and geometric shapes.
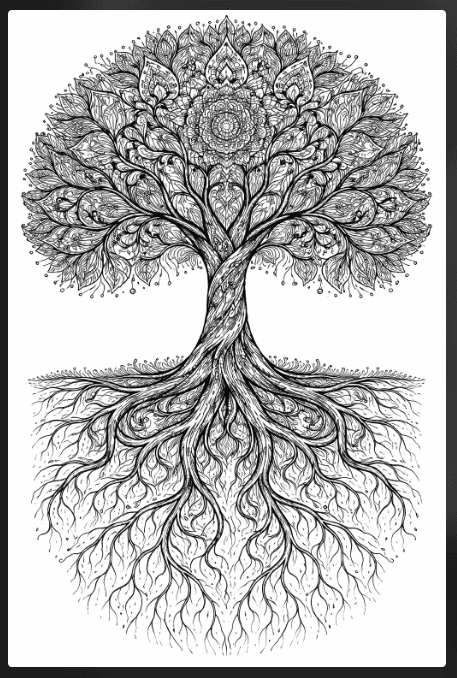
This style draws the eye because every part of the tree is carefully balanced. You can use black ink or fine liners to make the details stand out.
Related posts:


Materials You Need to Draw a Tree with Roots
Before you start drawing, it helps to have the right materials ready. The good news is that you don’t need anything fancy. Simple tools work perfectly, especially if you’re a beginner.
First, use plain paper. Any sketch paper or notebook page is fine. A clean surface makes it easier to see your lines clearly.
Next, grab a pencil. A regular HB pencil is a great choice because it’s easy to control and erase. With a pencil, you can sketch lightly and fix mistakes as you go.
You’ll also need an eraser. This helps you remove extra lines and clean up your drawing once the tree shape is finished.
If you want darker and cleaner lines, use a pen or fine marker at the end. This step is optional, but it helps your tree stand out once the sketch is complete.
That’s it. With just paper, a pencil, and an eraser, you’re ready to draw a simple and beautiful tree with roots.
The Steps of Drawing a Tree with Roots
To draw a tree with roots, you need to follow the simple steps below one by one. Take your time, draw lightly at first, and enjoy the process.
Here are the steps to follow:
Step 1: Draw the Ground Line
Start by lightly drawing a horizontal line across your page. Place it slightly below the center of the paper, not too high and not too low. This line is important because it sets the foundation for your entire drawing.
The ground line shows where the earth begins. Everything above it will be the visible part of the tree, such as the trunk, branches, and leaves. Everything below it will become the roots. By clearly separating these two areas, your drawing will look easier to understand.
Keep your pencil pressure very light. This allows you to erase or adjust the line later without leaving marks. A clean ground line helps guide the rest of your drawing while staying almost invisible in the final result.
Step 2: Sketch the Tree Trunk
From the ground line, start drawing the tree trunk by making two slightly curved vertical lines going upward. These lines should not be perfectly straight. Small curves help the trunk look natural and alive.
Make the trunk wider at the bottom and gradually bring the lines closer together as they rise. This shape shows strength and balance, just like a real tree. Once you are happy with the width, connect the lines at the top and bottom.
After that, draw lightly and take your time. The trunk is the main support of the tree, so a strong and steady shape here will make the rest of your drawing much easier.
Step 3: Add the Main Branches
At the top of the trunk, begin drawing the main branches. Start with three to five branches that grow outward and slightly upward from the trunk. This direction helps the tree look healthy and natural.
Let each branch split into two or three smaller branches as it moves away from the trunk. Keep the lines thin and slightly curved. Don’t forget to vary their length so they don’t all look the same.
Avoid trying to make the branches perfect or symmetrical. Trees grow in random ways. Small differences in size and angle will make your drawing feel more realistic.
Step 4: Draw the Canopy(Leaves Area)
Once the branches are in place, it’s time to draw the canopy. Start by sketching a loose shape around the branches to represent the leaves. This shape should look like a soft cloud, not a sharp or perfect circle.
Use wavy lines and gentle curves as you move around the canopy. These uneven edges help the tree look natural and organic. Also, try to keep your hand relaxed and let the shape flow freely.
The canopy gives your tree volume and balance, so make it wide enough to cover the branches without completely hiding the trunk. A full but loose canopy will make your tree look healthy and complete.
Step 5: Start Drawing the Roots
Now move below the ground line to draw the roots. From the bottom of the trunk, start sketching three to five thick roots spreading outward and downward. These roots are the base of the tree, so they should feel strong and grounded.
Think of the roots as upside-down branches. Let them grow in different directions instead of straight down. You can use curved lines to show how roots naturally move through the soil.
Avoid making all the roots the same size or shape. A mix of thick and slightly thinner roots will make your drawing look more natural and realistic.
Step 6: Split the Roots
After drawing the main roots, add smaller roots branching off from them. Each main root can divide into two or three thinner roots as it moves away from the trunk. As a result, this creates a more detailed and natural appearance.
Remember these tips:
Roots should gradually get thinner the farther they extend from the trunk.
Use curved and flowing lines rather than straight ones.
By splitting the roots in this way, your tree will feel grounded and realistic. You’ll have a strong connection between the visible trunk and the underground support system.
Step 7: Clean Up and Outline
Once you’ve drawn the trunk, branches, canopy, and roots, it’s time to finalize your tree. Start by going over the lines you want to keep with a darker pencil or a fine pen. This makes the tree stand out and gives it a clean look.
Next, carefully erase any extra sketch or construction lines that are no longer needed. Also, focus on keeping only the main shapes(trunk, branches, roots, etc) clear and easy to see.
At this stage, your tree should feel complete and well-defined. With clean lines and erased guides, it’s ready for any additional details or finishing touches you want to add.
Step 8: Add Optional Details
After cleaning up your drawing, you can add small details to make your tree look more realistic. Here are some simple ideas:
Bark Texture: Draw short vertical or slightly curved lines along the trunk to show the texture of the bark.
Root Lines: Add a few subtle lines on the roots to give them depth and form.
Leaves: Inside the canopy, you can sketch simple leaf shapes or small clusters to give the tree more dimension.
These details are optional, but even a few simple touches can make your tree feel more complete and natural. Don’t worry about perfection because small imperfections make your tree unique and realistic.
Conclusion
Drawing a tree with roots doesn’t have to be complicated. If you follow simple steps, you can create a natural and beautiful tree in no time. Remember, practice makes perfect.
Small details like bark lines, root textures, or simple leaves can make your tree look more alive. Doesn’t matter if you prefer minimalist line art or watercolor sketches; the key is to take it step by step and enjoy the process.
Grab your pencil and paper, then start bringing your tree to life.


Frequently Asked Questions
Here are some FAQs:
Do I need special tools to draw a tree with roots?
No. You only need basic tools like paper, a pencil, and an eraser. You can optionally use a pen or marker for outlining your final drawing.
Can beginners draw a tree with roots?
Of course, they can. By following simple steps and practicing lightly at first, anyone can draw a tree with roots. Start with basic shapes and add details gradually.
How do I make the tree look realistic?
Use slightly curved lines for the trunk, branches, and roots. Vary the thickness of branches and roots, and add simple details like bark lines or small leaves. Imperfections make it look natural.
Can I use color in my tree drawing?
Yes. You can add color using colored pencils, watercolors, or markers. Light washes of color work especially well for a soft, natural look.
Which style of tree should I try first?
Start with minimalist line art. It’s simple and easy to practice. Once you feel confident, you can explore watercolor sketches or mandala-style trees for more creative designs.